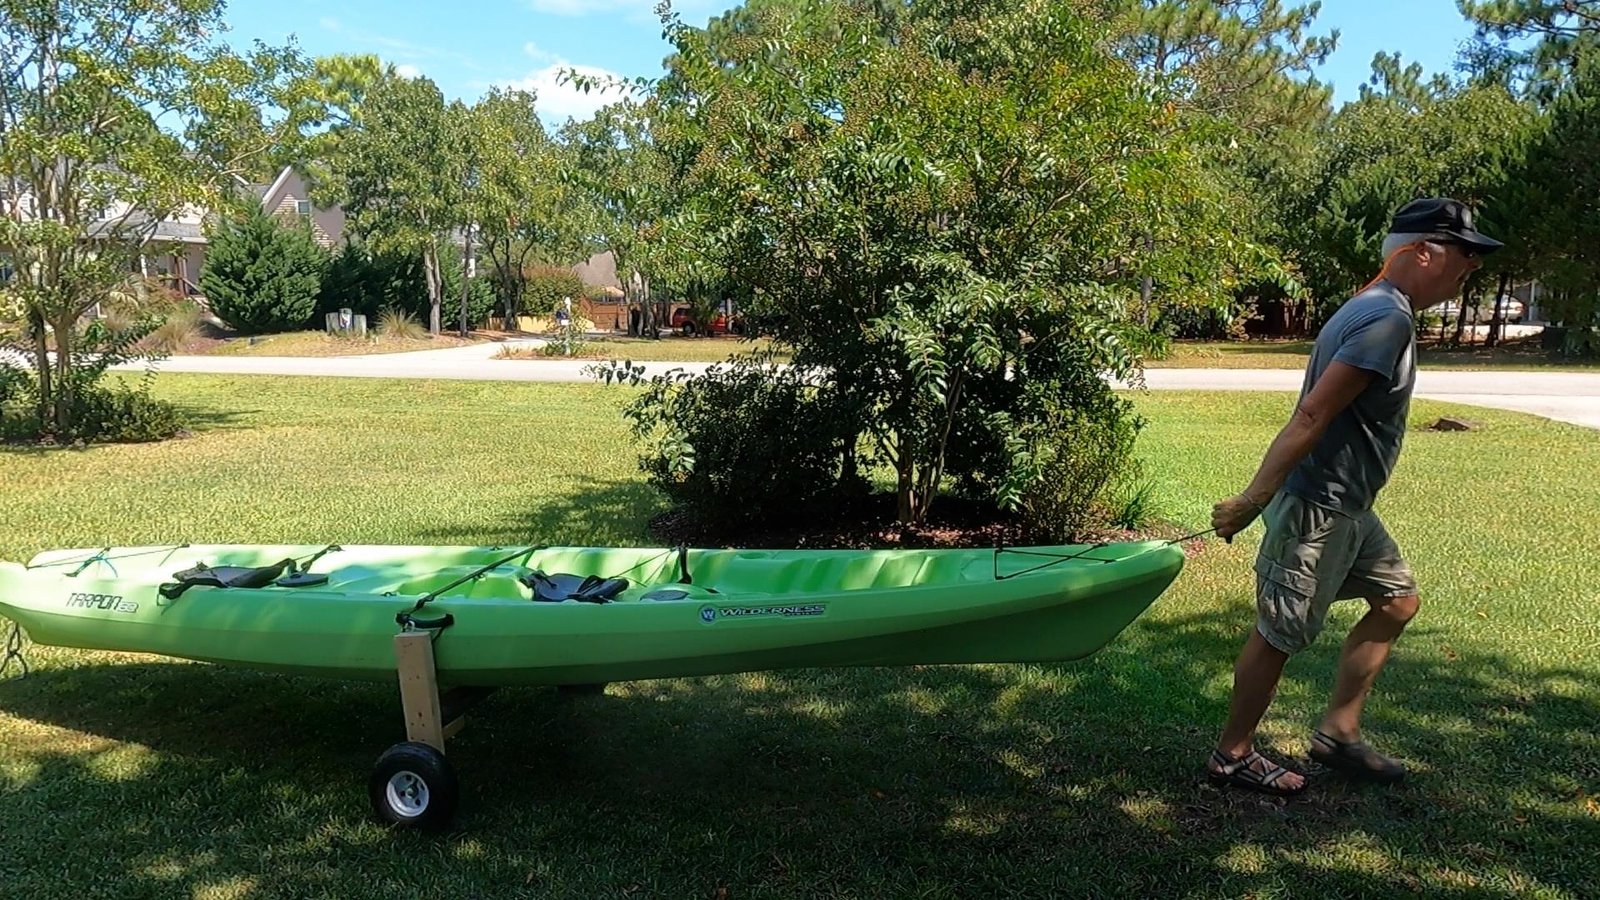
The second step in fishing kayak setup is being able to transport the kayak and for that you need a great kayak cart build. But, your DIY kayak cart does not have to cost a fortune! I show how to build your own kayak cart out of scraps! I believe this is the cheapest kayak cart you can make. Bottom line is you cannot do fishing kayak mods unless you can get your fishing kayak to the water!
Kayak Cart on the Cheap!
How to make an inexpensive kayak cart.

Total Time Needed: 45 minutes
Total Cost: 25 USD
Required Tools:
Drill with screwdriver bit
Saw
Wrench
Things Needed?
Deck screws
Scrap wood
2 hooks
Rubber bungee
Carraige bolts with nuts
Steps to create cart
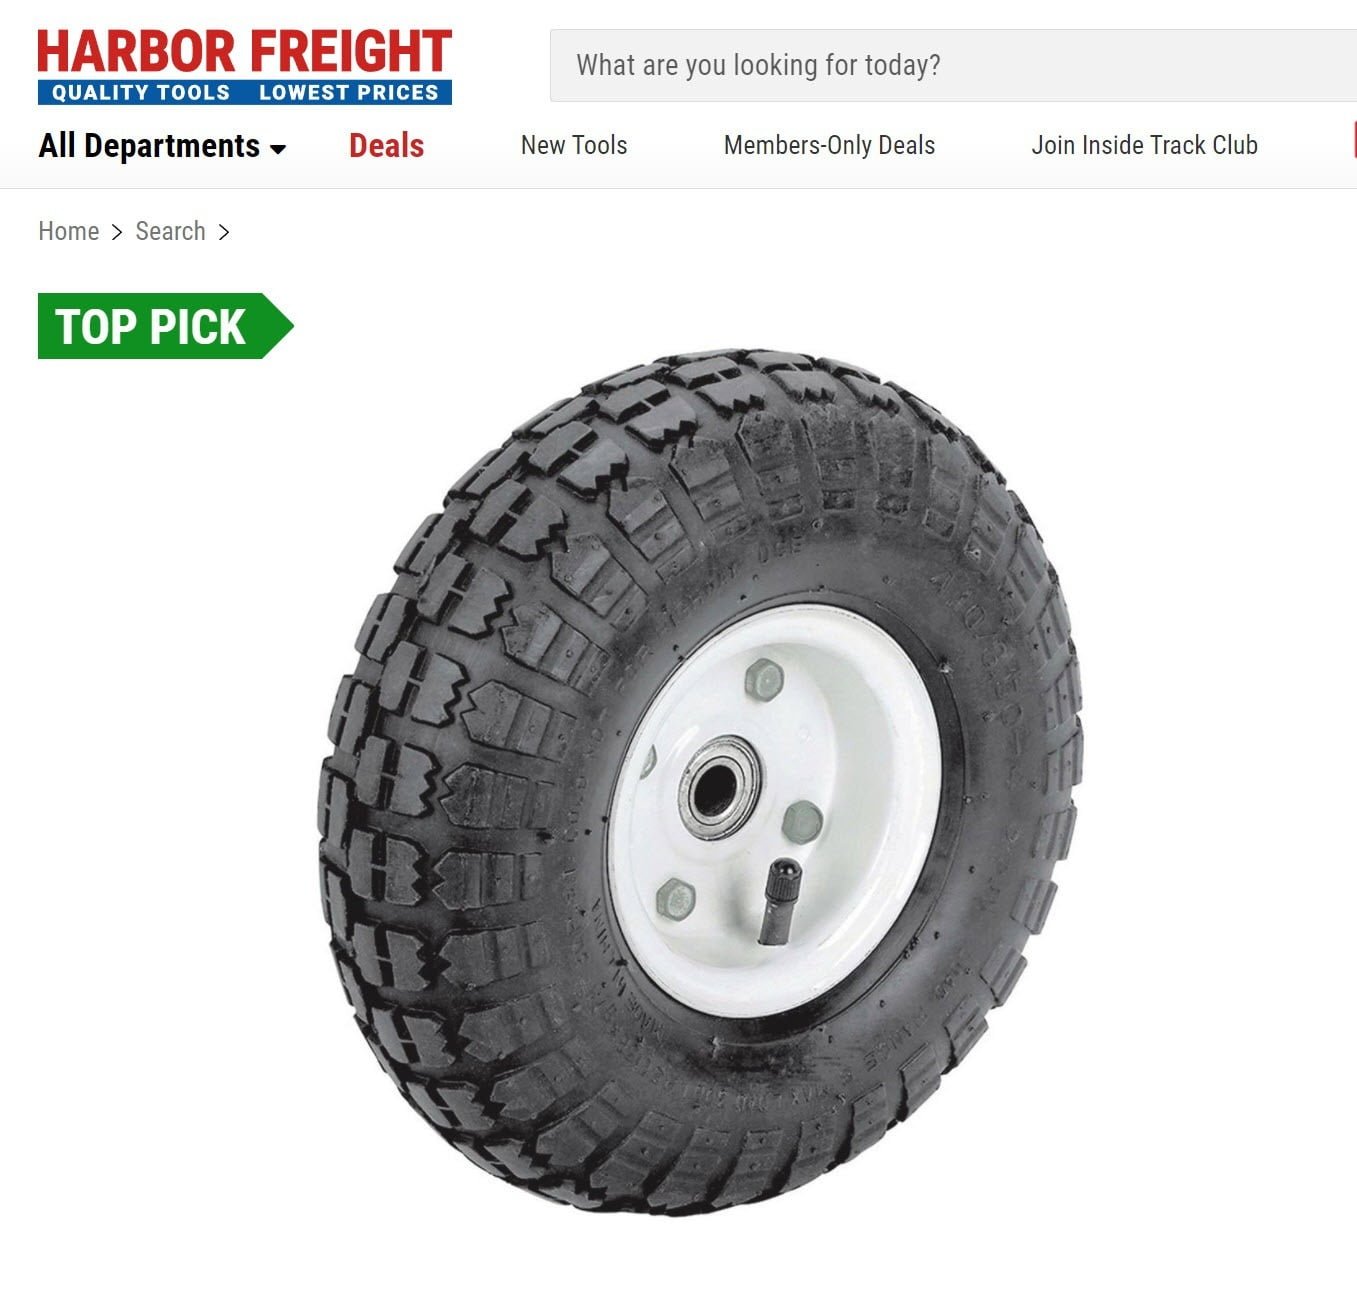
Step 1 - Get the wheels
The cheapest place to buy wheels is Harbor Freight

Step 2 : Create the frame
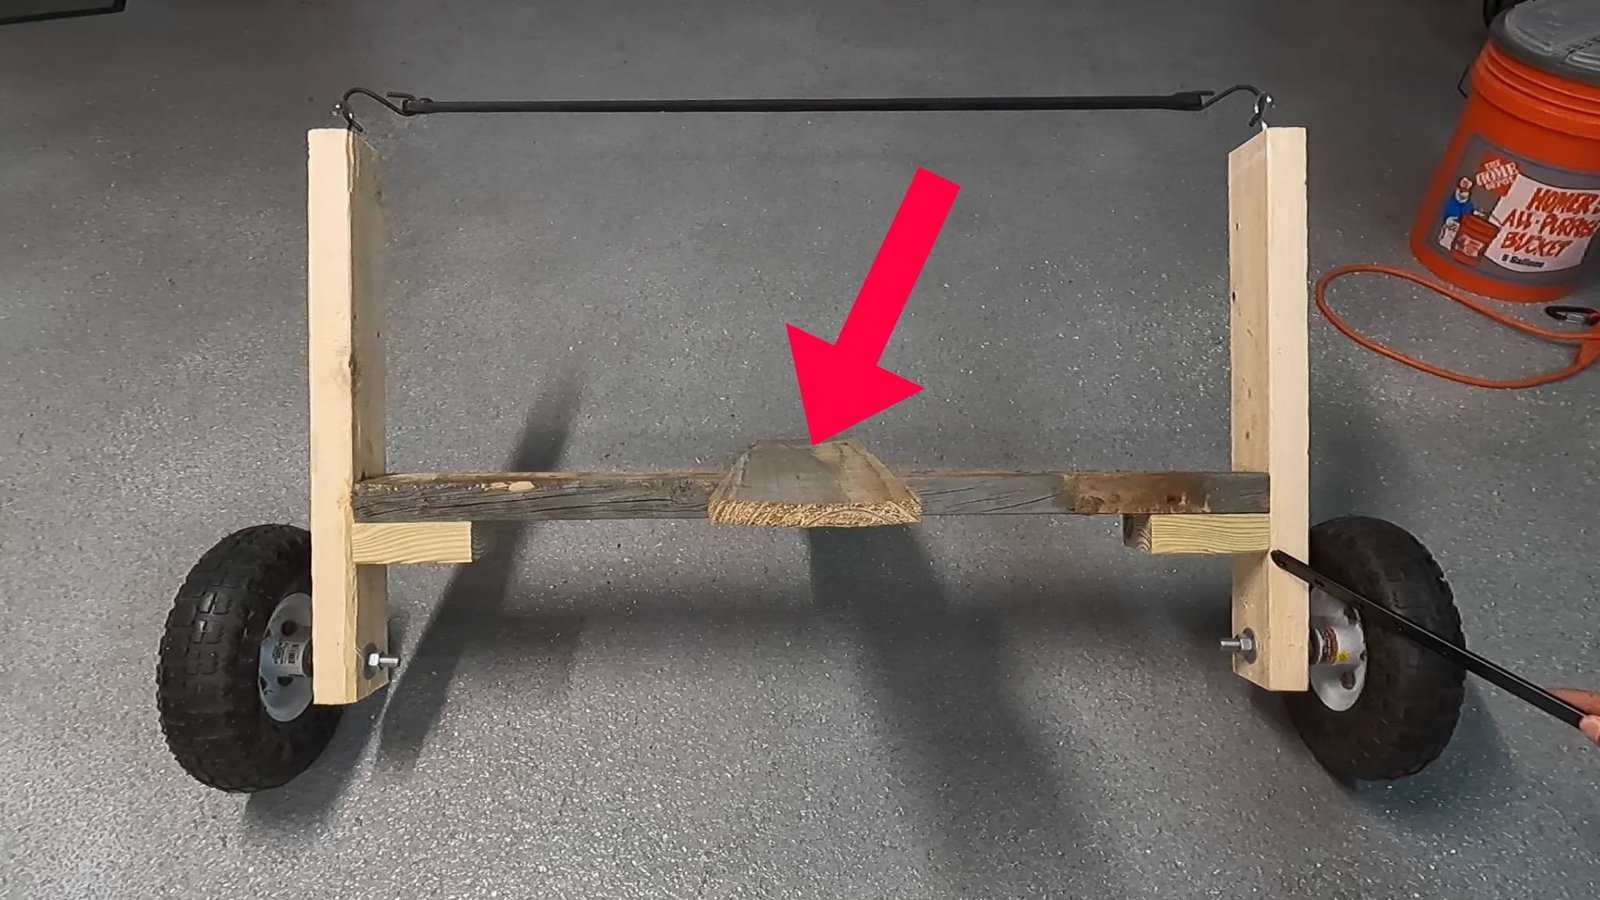
Measure the width of your kayak and add a few inches. Create a frame that looks like an offset "H" with short reinforcing blocks of wood on the ground side of the H.

Step 3 : Add the cross brace
Get a 4 or 6 inch wide board to cross perpendicular to the frame to support the body of the kayak. Glue and screw it in place.

Step 4 : Drill holes of bolts
Drill holes for the carriage bolts. Insert the bolts through the wheels, add a nut on the wheel side to create some standoff from the frame. Run the bolt through and screw down the nut with a washer on the other side.

Step 5: Add hook and bungee
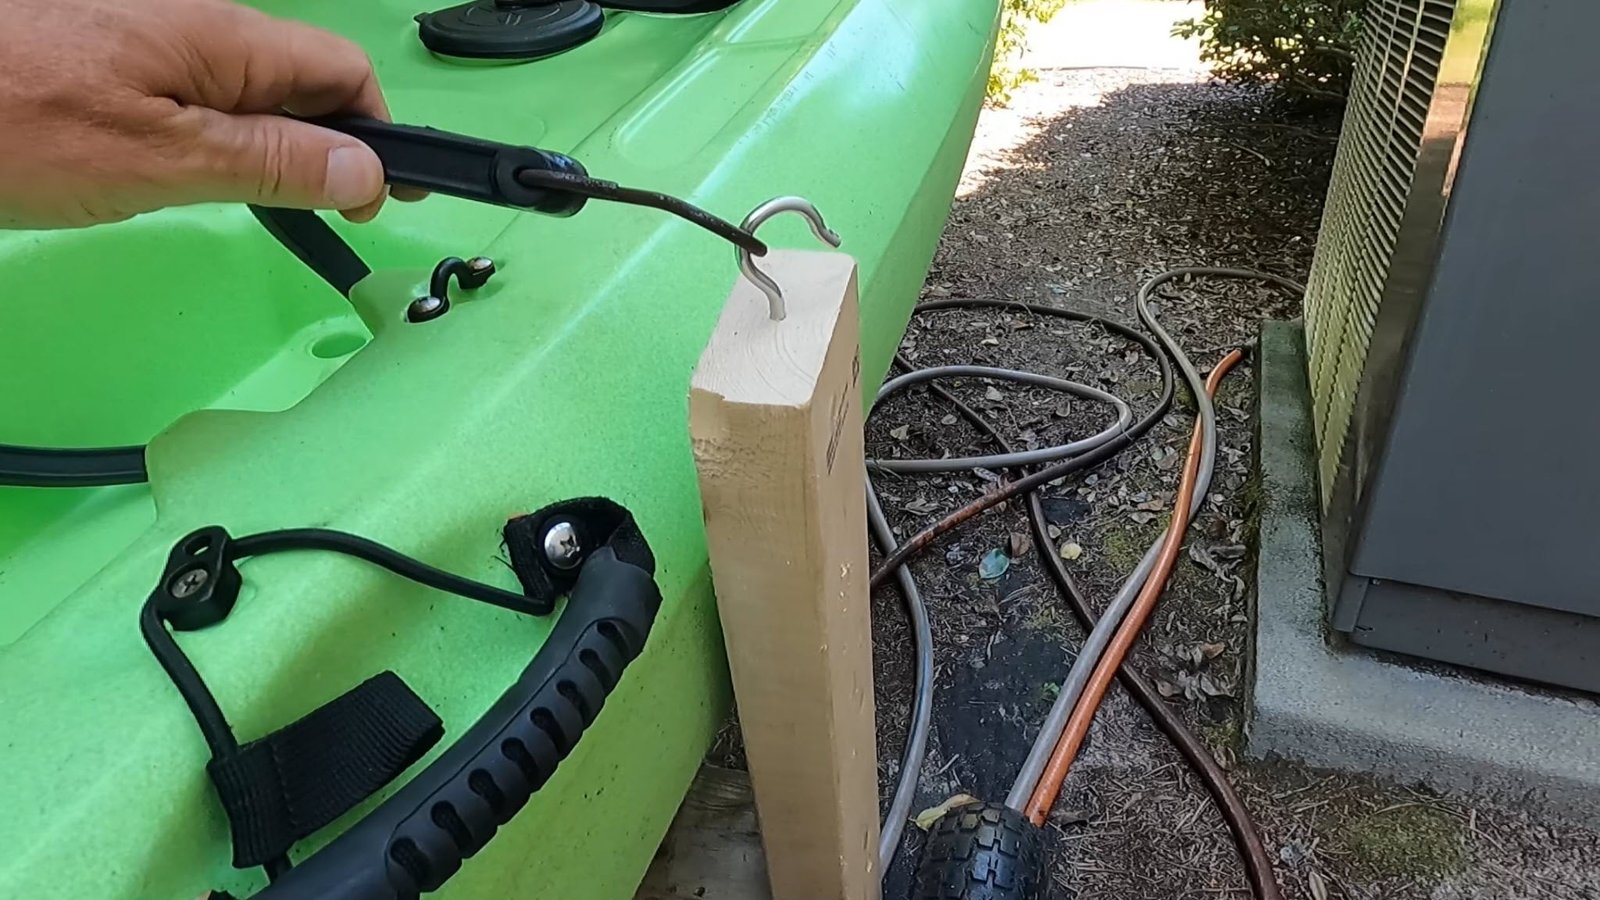
Screw large hooks into the top of the frame. Run a bungee across the kayak to lock it in place.


